How To Run .NET 6, Kestrel, and Web API, on an AWS EC2 Linux Instance
Want to learn more about AWS Lambda and .NET? Check out my A Cloud Guru course on ASP.NET Web API and Lambda.
This post is going to be very similar to the previous one.
I am going to show how to get a .NET 6 Web API application and Kestrel running on AWS EC2 Linux instance, and make it accessible from outside AWS.
I’m not going to go into setting up an AWS account, you can find that info here. AWS offers a free tier, so you should be able to follow this tutorial and not incur expenses, but please read about the free tier for yourself, there is always a chance of making a mistake.
Create the Linux instance
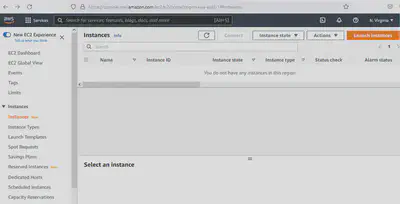
After you have logged into your account, go to https://console.aws.amazon.com/ec2/v2/home?region=us-east-1. There is a lot here, but for now you’re only interested in Instances.
1. Starting off
In the upper right, hit “Launch instances”.
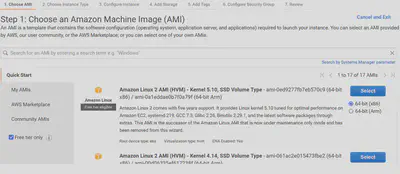
2. Picking an image
On the new page, select “Free tier only” on the left. The top result will be a Linux image. We are going to use that one.
3. Making sure you are on the free tier
Verify you are using the t2.micro which is on the free tier.
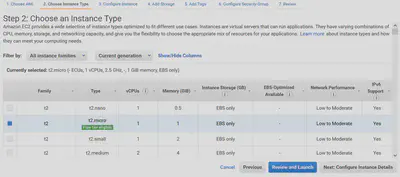
Hit “Next: Configure Instance Details”.
4. Configuring the instance, adding Tags
You can skip through the next few screens until you get to “Add Tags”.
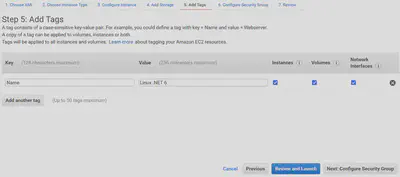
Hit “Next: Configure Security Group”.
5. Security
This is the important one. You will see that port 22 has been opened to the whole world and that AWS is warning us about it. You will make a change here that makes SSH available only to the IP address you are currently using. Go to http://httpbin.org/ip, this will tell you your public IP address. Remove “0.0.0.0/0”, in its place put the IP address from httpbin.org, and add /32 to the end. You should have something like - “1.2.3.4/32”.
Give a name and description to the security group.

Hit “Review and Launch”.
6. A review
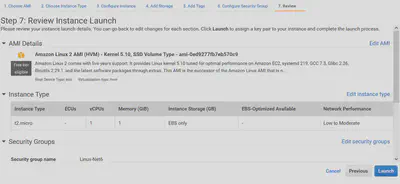
Hit “Launch”.
You are not quite there yet…
7. Keys and Launch
One final step, create a key pair so you can access the instance later. Select “Create a new key pair”, leave it as RSA, and give it a name. Then download and keep safe. You will use it when SSHing to the instance shortly.
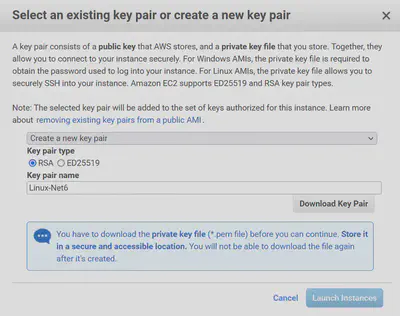
Now, hit “Launch Instances”.
Go off make a cup of tea, this will take a few minutes to start up.
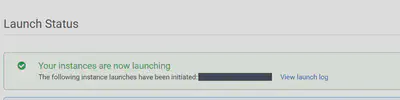
8. Waiting…and…Ready
In the EC2 instances dashboard, you will see the instance status as “Initializing”.
Before it changes to “2/2 checks passed”, it should now be up and running and available via SSH.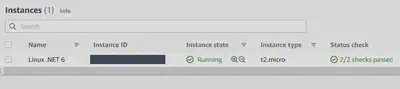
Click the instance id to bring up a summary.
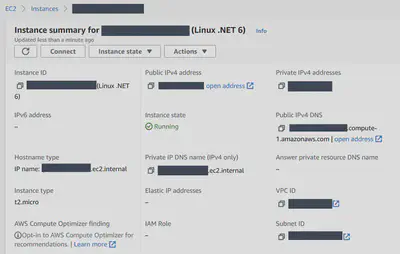
Connect to the instance
The Linux instance should now be running and available to you via SSH.
Hit the “Connect” button.
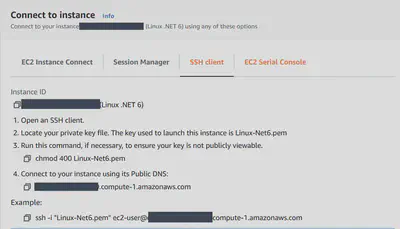
Move over to the “SSH client” tab. Follow the instructions on using SSH from the command line.
Run the below command from the directory where you downloaded the key file to earlier.
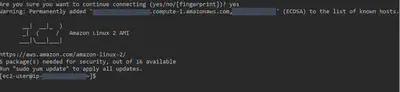
ssh -i "Linux-Net6.pem" ec2-user@ec2-xxx-xxx-xxx-xxx.compute-1.amazonaws.comYou will now be asked to accept the fingerprint -

Type “yes”.
Then you will be connected to the Linux shell -
Installing .NET 6
At the time of writing this, the current .NET SDK version is 6.0.101, and the link below will download the Linux x64 binaries. But you should go to https://dotnet.microsoft.com/en-us/download/dotnet/6.0 to get the latest.
Run the below to download and install the .NET 6 SDK, set up the PATH and DOTNET_ROOT environment variables.
wget https://download.visualstudio.microsoft.com/download/pr/ede8a287-3d61-4988-a356-32ff9129079e/bdb47b6b510ed0c4f0b132f7f4ad9d5a/dotnet-sdk-6.0.101-linux-x64.tar.gz

mkdir -p $HOME/dotnet && tar zxf dotnet-sdk-6.0.101-linux-x64.tar.gz -C $HOME/dotnet
export DOTNET_ROOT=$HOME/dotnet
export PATH=$PATH:$HOME/dotnet
To verify it is working, run -
dotnet --list-sdksYou should see something like -
6.0.101 [/home/ec2-user/dotnet/sdk]If you log out and log back in, the dotnet command won’t be available because the environment variables have been cleared.
Running the below to resolve that problem -
echo 'export DOTNET_ROOT=$HOME/dotnet' >> .bash_profile
echo 'export PATH=$PATH:$HOME/dotnet' >> .bash_profile
Creating the Web API application
Use the following to create and start an API application running on ports 5000 and 5001.
dotnet new webapi --name HelloFromLinuxInstance
dotnet run --project HelloFromLinuxInstance --urls "http://*:5000;https://*:5001"
Then use wget to get the weather forecast.
wget localhost:5000/weatherforecast --no-check-certificateThis will save a file called weatherforecast. Use cat weatherforecast to see the contents of the file.
This demonstrates that the Kestrel is up and running. But you won’t be able to access the server from your computer or anywhere else.
Connecting to the Web API application from outside
There is one final step to open ports 5000 and 5001 so you can load the weather forecast from your computer or elsewhere.
Go back to the instance, click on the Security tab, then on the Security Group.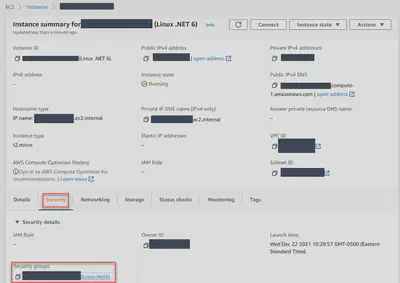
Then add ports 5000 and 5001 to the allowed inbound ports, using the IP address you got from httpbin.org.
Done! You should now be able to access the API from your computer, but you will see security warning in your browser, I’ll show you how to handle that in a later post.
Try by connecting to -
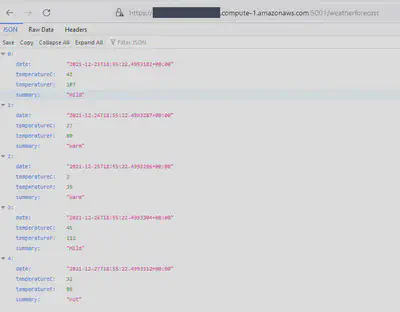
http://ec2-x-xx-xxx-xxx.compute-1.amazonaws.com:5000/weatherforecast
https://ec2-x-xx-xxx-xxx.compute-1.amazonaws.com:5001/weatherforecast
There it is!
The site is now accessible from your computer.