Getting Started with Elasticsearch, Part 3 - Deploying to AWS with Pulumi
Full source code available here.
This is part 3 of my short introduction to Elasticsearch. In the first part I showed how to create an Elasticsearch index, mapping, and seeded it with data. In the second I used HttpClientFactory and a typed client to query the index. In this part I going to show you how to setup Elasticsearch in AWS using infrastructure as code. Be careful, AWS charges for these things.
A few months ago Pulumi added C# to their list of supported languages. If you haven’t heard of them, they are building a tool that lets you create the IaC in a familiar programming language, at the time of writing they support TypeScript, JavaScript, Python, Go and C#. Writing in a programming language makes it easy to work with things like loops and conditionals, if you are unfamiliar with IaC, those two simple things can be extremely challenging or impossible with other tools.
I’m going to write my IaC in C#.
I’m not going to walk you through installing Pulumi, their site has all the info you need for that.
The IaC Project
Once you have installed Pulimi and tested that the command works, create a new directory called ElasticsearchDeploy.
Change to that directory and run -
pulumi new aws-csharpFollow the instructions and open the project in VS Code or Visual Studio.
Delete the MyStack.cs file.
Create a file named MyElasticSearchStack.cs.
Paste in the below code -
 1using Pulumi;
 2using ElasticSearch = Pulumi.Aws.ElasticSearch;
 3using Aws = Pulumi.Aws;
 4using Pulumi.Aws.ElasticSearch.Inputs;
 5
 6class MyElasticSearchStack : Stack
 7{
 8    public MyElasticSearchStack()
 9    {
10        string myIPAddress = "x.x.x.x" you need to put your IP address here;
11        string esDomainName = "myelasticesearch";
12        var config = new Config();
13        var currentRegion = Output.Create(Aws.GetRegion.InvokeAsync());
14        var currentCallerIdentity = Output.Create(Aws.GetCallerIdentity.InvokeAsync());
15        var esDomain = new ElasticSearch.Domain(esDomainName, new ElasticSearch.DomainArgs
16        {
17            DomainName = esDomainName,
18            ClusterConfig = new ElasticSearch.Inputs.DomainClusterConfigArgs
19            {
20                InstanceType = "t2.small.elasticsearch",
21            },
22            EbsOptions = new DomainEbsOptionsArgs()
23            {
24                EbsEnabled = true,
25                VolumeSize = 10,
26                VolumeType = "gp2"
27            },
28            ElasticsearchVersion = "7.7",
29            AccessPolicies = Output.Tuple(currentRegion, currentCallerIdentity).Apply(values =>
30            {
31                var currentRegion = values.Item1;
32                var currentCallerIdentity = values.Item2;
33                return @$"
34                {{
35                    ""Version"": ""2012-10-17"",
36                    ""Statement"": [
37                        {{
38                            ""Action"": ""es:*"",
39                            ""Principal"": {{
40                                ""AWS"": ""*""
41                            }},
42                            ""Effect"": ""Allow"",
43                            ""Resource"": ""arn:aws:es:{currentRegion.Name}:{currentCallerIdentity.AccountId}:domain/{esDomainName}/*"",
44                            ""Condition"": {{
45                                ""IpAddress"": {{""aws:SourceIp"": [""{myIPAddress}""]}}
46                            }}
47                        }}
48                    ]
49                    }}
50                ";
51            }),
52        });
53        this.ESDomainEndpoint =  esDomain.Endpoint;
54    }
55    [Output]
56    public Output<string> ESDomainEndpoint { get; set; }
57}
Note on line 10, you need to put in the IP address you are using. Checking this with a site like https://ipstack.com/.
In Program.cs change the reference my MyStack to MyElasticSearchStack.
That’s it.
Deploying
Go to the command line, run -
pulumi upSelect ‘yes’ and then wait about 10 to 15 minutes as AWS gets your Elasticsearch domain up and running. In the output of the command you willsee the url of the Elasticsearch domain you just created, use that in the scripts from part 1 of this series.
You can also go to the AWS console, you should see something like -
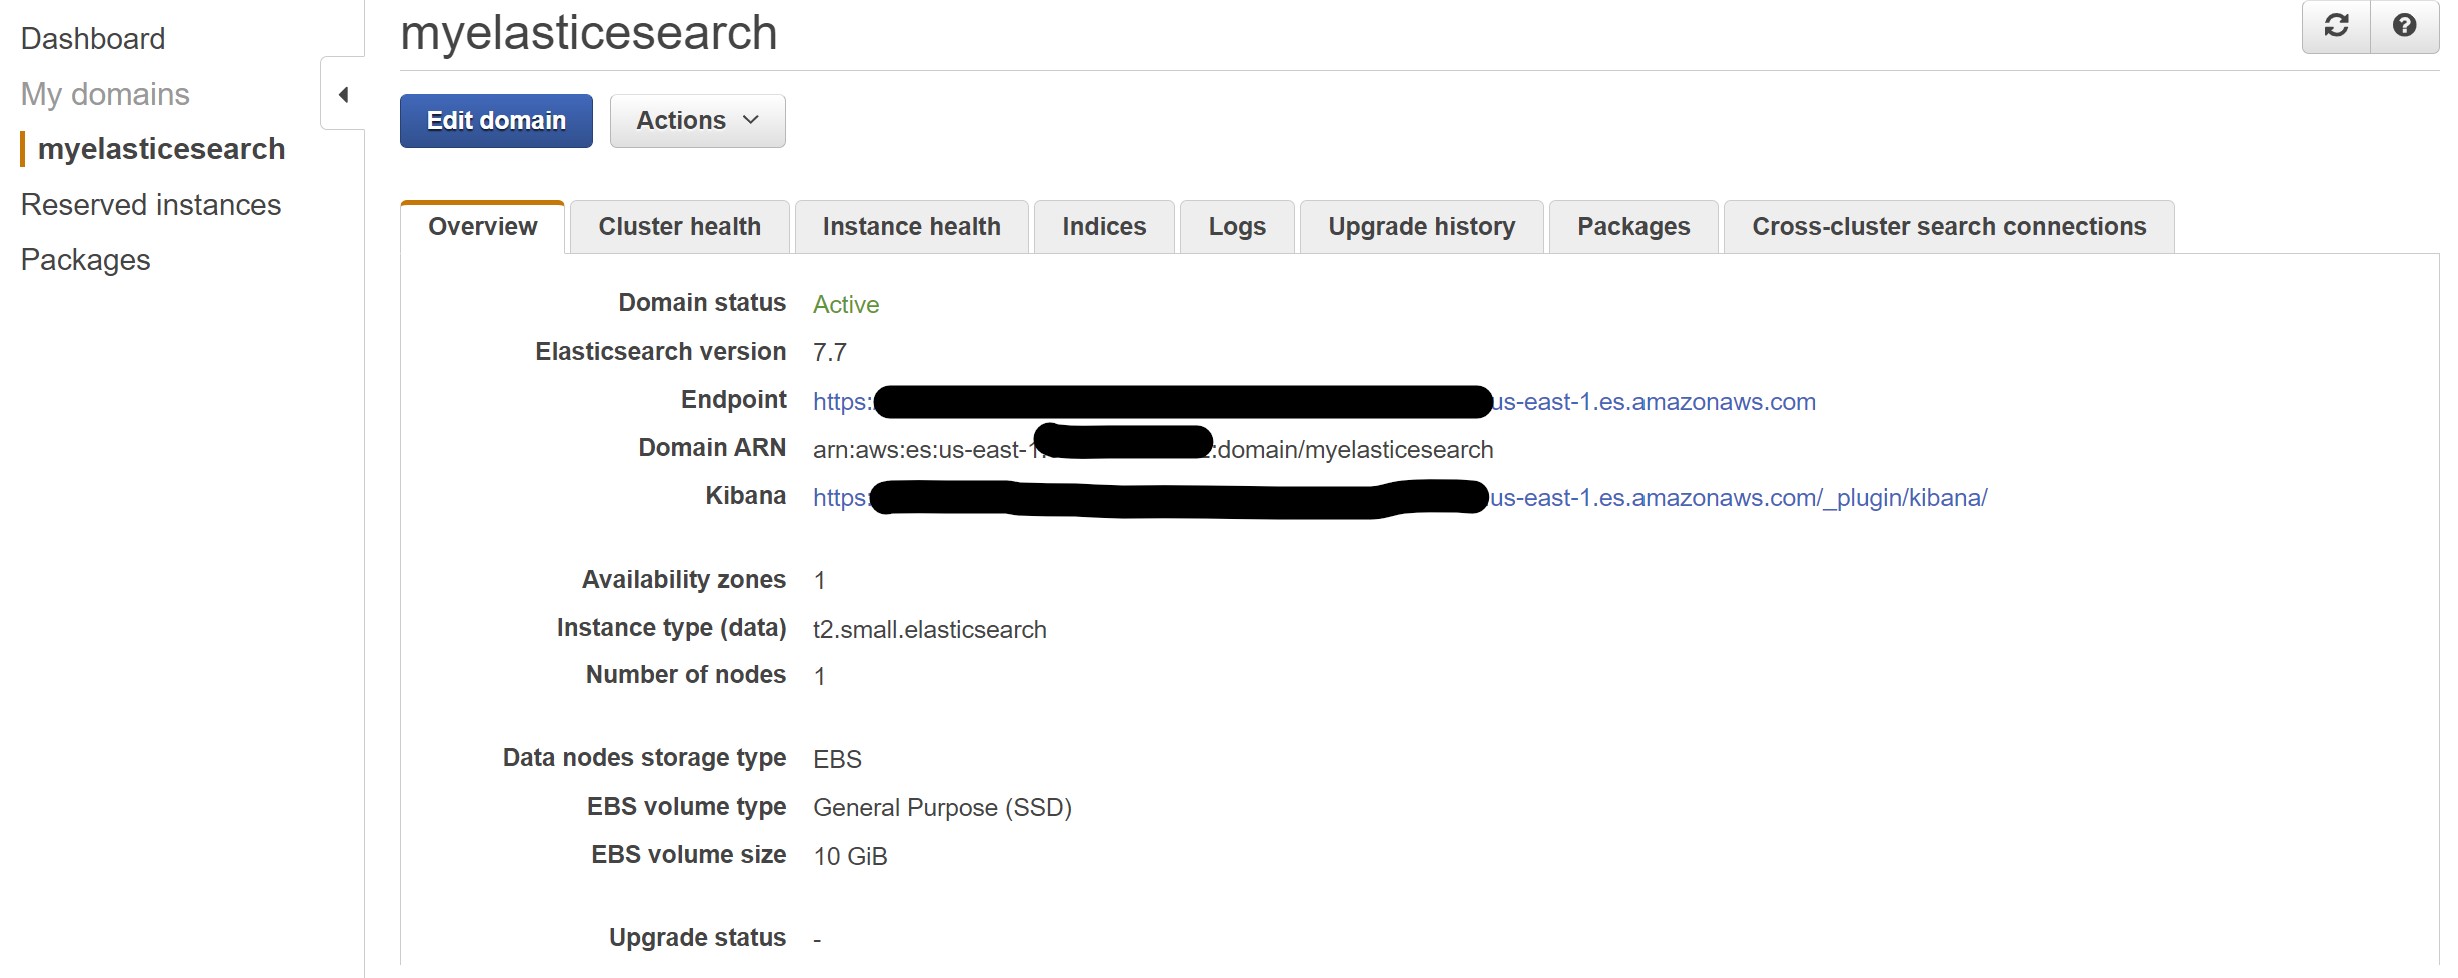
There you go - Elasticsearch index creating, seeding, querying, and infrastructure as code.
The JSON Problem
For those of you that dislike horribly escaped blocks of JSON inside C#, as I do, I am working on a post that will make this much nicer to look at, and to work with.
Full source code available here.